In Fenland we're often exposed to strong winds due to our flat, low-lying landscape and many areas falling below sea level.
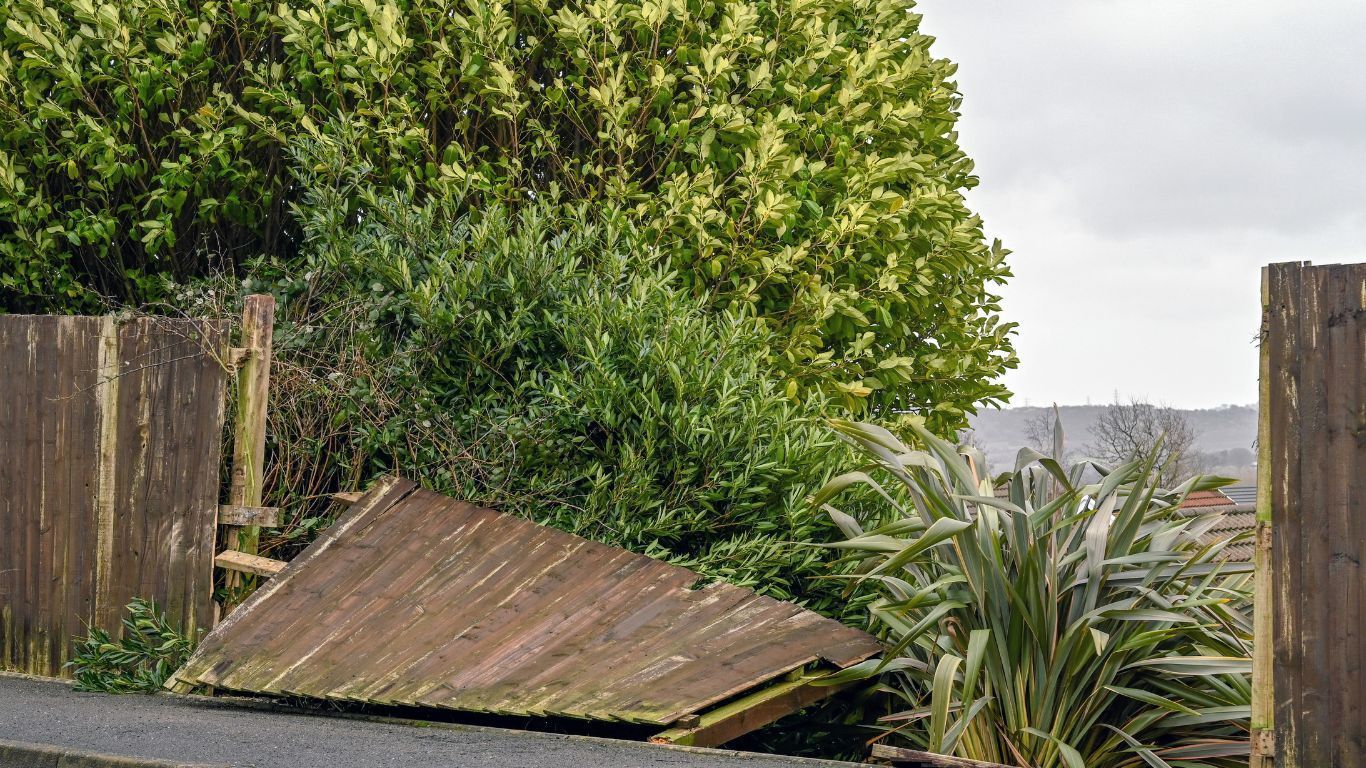
This flat landscape is of course fabulous for uninterrupted views of beautiful sunsets but, conversely, bad for weak, old fencing that isn't wind resistant.
And if you live in particularly windy, exposed, rural area, no doubt many of you will have experienced damage to your garden fence or farm fencing in the past. Most non-windproof garden fencing suffers damage during particularly bad storms, with some weak fence panels completely blown away or wrecked beyond repair.
When choosingthe best fence panels for strong winds,you should consider your location (surburban or rural), asthetic preferences, specific needs (i.e. do you want some privacy or just need to keep animals secure) and your budget.
Below we explore the best types of wind resistant fence panels and fence posts to choose, but also mention towards the end of this blog much cheaper alternatives to fence panels, where privacy and asthetics aren't important.
Concrete posts which are concreted into the ground are the most robust type of fence posts you can use to safeguard your fencing against wind damage. Concrete gravel boards....
Cheaper alternatives to fence panels
Picket fencing
Similar to chain-link fencing, picket fencing is also gappy allowing the wind to blow through the gaps. Many homeowners in suburbia will perhaps find a picket fence more asthetically pleasing than a chain-link.
If privacy isn't a requirement and you want to keep your dogs secure, then chain-link fencing (also known as wire mesh fencing) is by far the cheapest and and most suitable type of fence for windy conditions as the wind blows straight through the gaps.
Bear in mind that if you do ultimately want some sort of privacy, you could always grow climbers on this type of fencing.
Chain-link fencing is often a popular choice for dog owners who like to make sure their furry friends are kept safe, but have the pleasure of seeing what's going on outside their boundaries.
Bear in mind that many dogs will enthusiastically bark as passers by when they are given the luxury of a see-through fence. So if you think this might upset neighbours or don't want your dog barking too much, this probably isn't the best solution.
You can buy two types of chain link fence: galvanised or PVC coated.
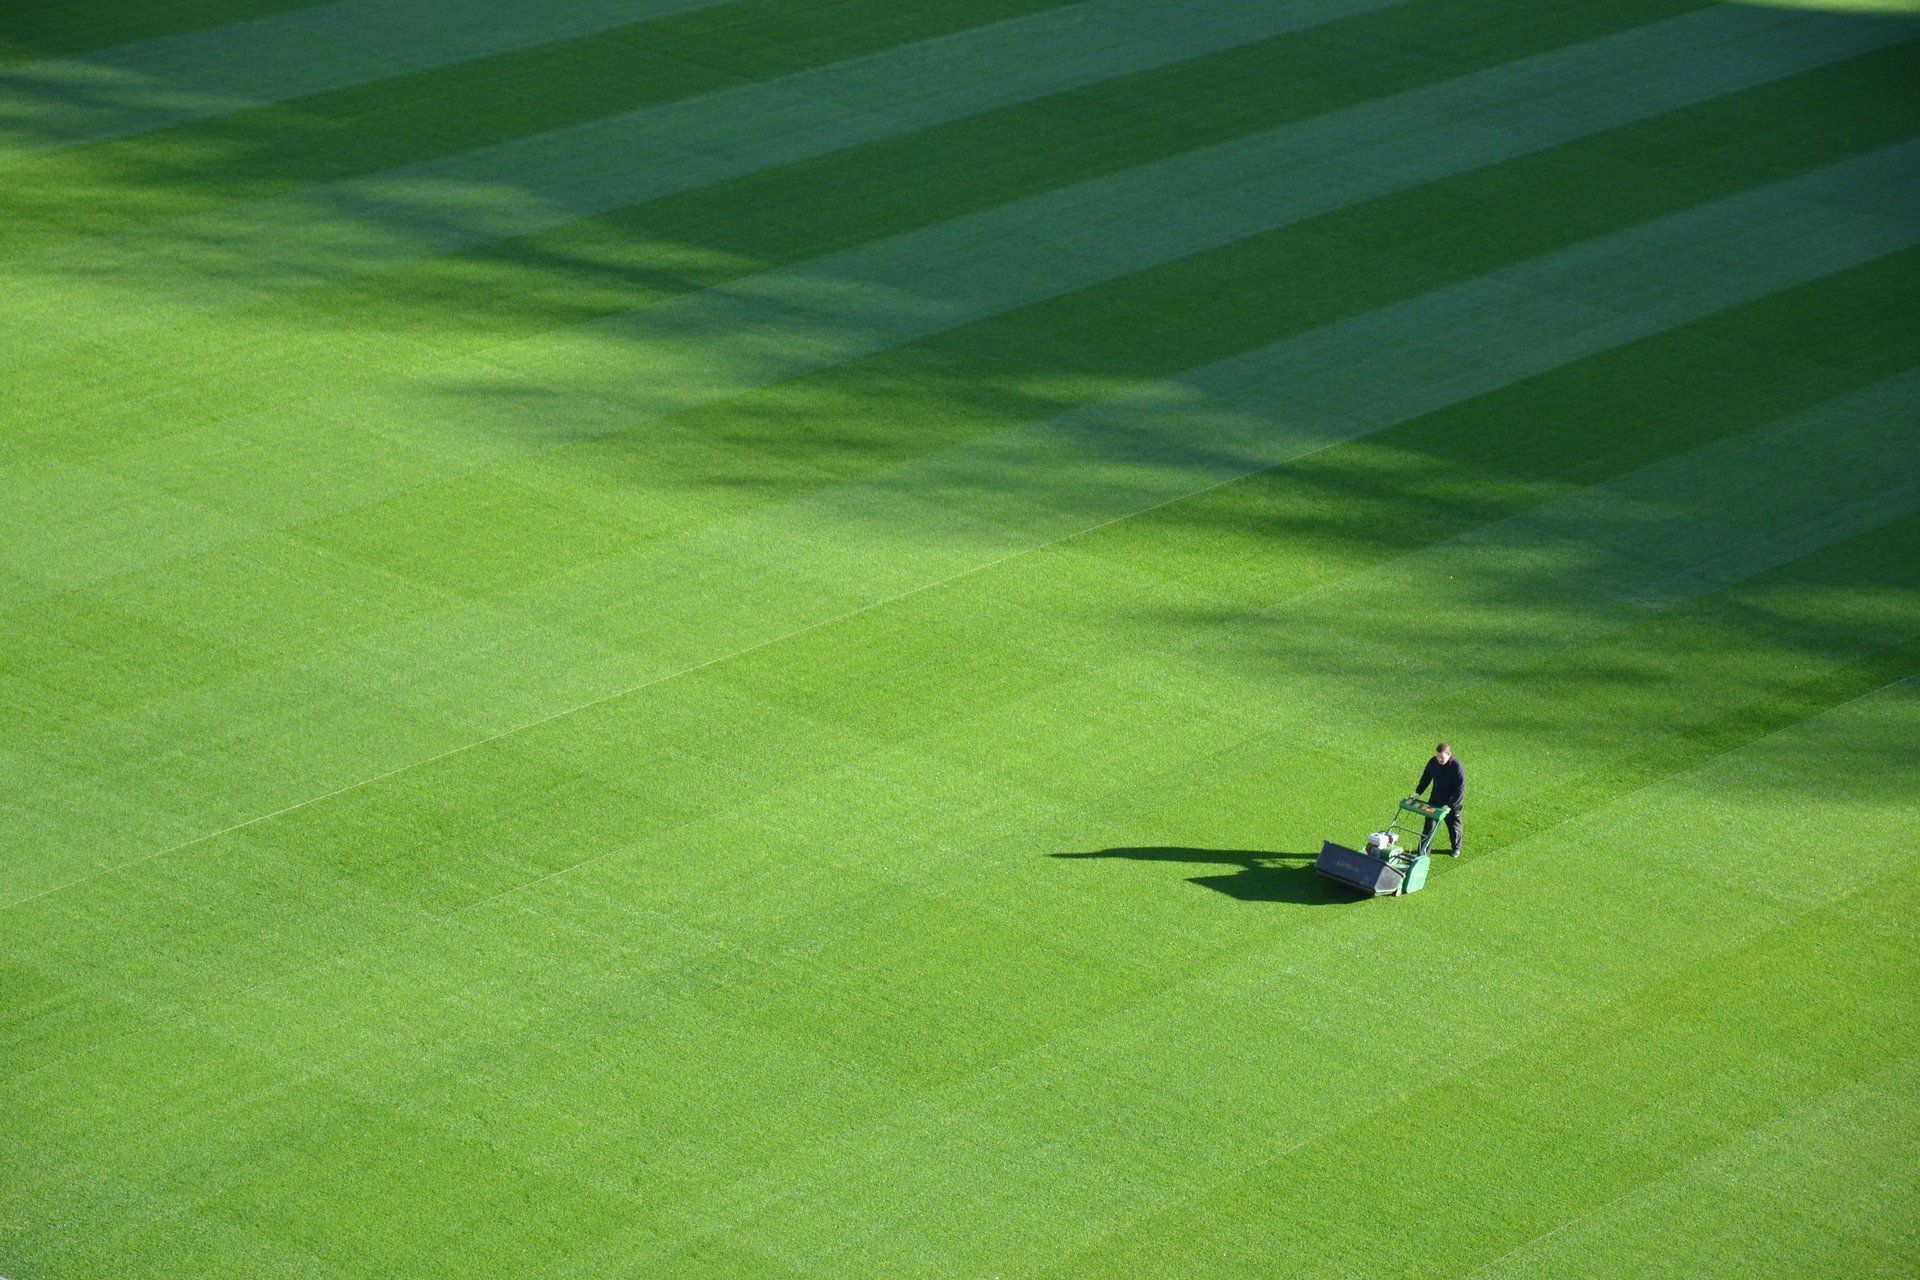
If, like most of us, you can't afford to have your lawn removed and professionally levelled out and turfed, then there are lots of things you can do to make your lawn the envy of your neighbours. In this article we cover, in some detail, what you can do to rejuvenate your existing lawn and make it look lush, green and healthy, almost as though you had paid for expensive turfing! All you need is a little bit of dedication and hard work, and the results will worth it.
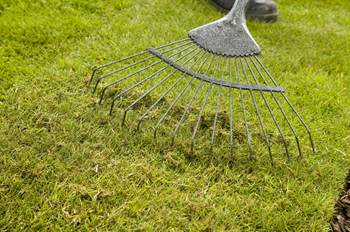
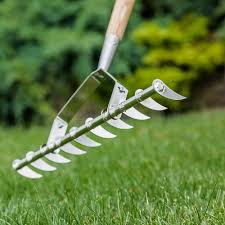
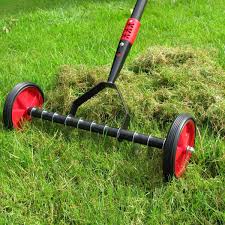
No, we don't mean you have to put a scarecrow on your lawn or creep up on lawn in a scary costume shouting 'boo'! Scarifying is a process where you remove dead grass, moss, weeds and any other unwanted debris from your grass as, when all of these build up, this prevents water, oxygen and fertiliser getting to the roots of the grass making the appearance of your lawn lacklustre. If you have a particularly mossy and spongy lawn, then it could most definitely do with a good scarifying!
As you'll see from the above images, scarifying tools can be a basic lawn rake or a proper scarifying rake, or you can pay more for a manual scarifier or really push the boat (and your wallet!) out and purchase an electric or petrol scarifier. As you'll see from the picture above, more expensive electrical or petrol scarifiers tend to look very similar to lawn mowers and make much lighter work of the job. I'll leave it to you to decide how much money you want to spend on scarifying equipment - obviously your budget, lawn size and how mossy your lawn is will affect this decision.
The best time to rake or scarify your lawn is towards the end of Spring or early Autumn and before you aerate
or fertilise
your lawn. If you have a lot of heavy thatch or moss in your grass requiring a deep scarify, then it's really best to leave scarifying until the end of Summer/beginning of Autumn. Intense scarifying will thin out your lawn leaving exposed soil which of course will not look great and if you do this at the end of Spring, then you could get lots of weeds sprouting up in exposed areas of soil that were once home to the moss and debris you have just removed.
That said, if you did not get around to scarifying your lawn last Autumn, you can still do so towards the end of Spring during April and perhaps the beginning of May. You ideally want the soil warm and moist with your grass in full growth so make sure your lawn isn't too dry before scarifying.
You should avoid scarifying your lawn at any time during the summer months of June, July or August or during the winter months of November to March; April, September or October are generally the ideal months of the year to scarify your lawn.
Whilst you ideally want your lawn a little damp for scarifying, you do not want it sopping wet so check the moisture of your lawn thoroughly. If there has been a recent light shower then you should be fine but if your lawn is boggy and water-logged, you should most definitely postpone scarifying your lawn until your lawn has dried out a bit.
Moisture levels and the right time to scarify will also largely depend on the type of soil you have, i.e. whether it is heavy, clay-based soil and takes a long time to drain which can be quite common is you live the Fenland town of March. The good news is that if you have a heavy, clay-based type of soil, then an intense build up of thatch is less likely anyway and scarifying may not be appropriate at all. However, if you have a sandy or loam type of soil then scarifying is definitely beneficial to the health and quality of your lawn.
Ideally, you will want short, dry grass (but with semi-moist soil) for raking or scarifying so cut your grass before scarifying and manually remove any weeds (do NOT use weed killer immediately before scarifying). If your grass is too long will make the process of scarifying or raking much more laborious than it needs to be.
Bear in mind that if you do scarify your lawn at the beginning of Spring, it can make your lawn look less attractive for some time, especially if you remove lots of moss and thatch. The Handy Garden Man would recommend waiting until Autumn if you're going to hate your lawn looking patchy for a while.
If you use a rake to scarify your lawn, you need only use moderate pressure whilst repeatedly raking. This is labour-intensive so unless you're super fit or have a postage stamp sized lawn, then I'd seriously suggest investing in an electric or petrol scarifier. Don't be too tempted to go as deep down as possible when you start scarifying with an electric or petrol scarifier, it's best to 'tease' out the debris from your lawn - you do not want big chunks coming out of your lawn. It's best to gradually scarify your lawn and then go over parts that you've already done, in a different direction for optimum scarifying results.
If you remove a lot of moss from your lawn, then watering or spraying your lawn with some ferrous sulphate based moss killer will be beneficial too.
Once you have thoroughly (but gently!) scarified your lawn, then it's usually a good idea to put down a light sprinkling of grass seed and dressing on large areas of exposed soil and perhaps even lightly sprinkle the whole lawn if scarifying has made it 'gappy' looking. A 'light sprinkling' of lawn seed is approximately 15 seeds per square inch so don't be too over zealous when sprinkling. You can also add some lawn fertiliser to help your lawn recover and thrive.
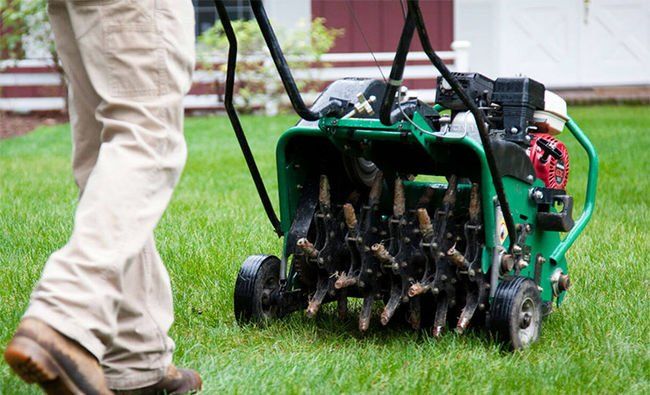
Once you've scarified your lawn and removed all dead thatch and moss, you should then aerate your lawn.
It always best to aerate your lawn during spring and before applying lawn fertiliser, although aeration can be done at any time of year to help your lawn thrive.
Aeration is the process of putting holes into your lawn which releases suffocating carbon dioxide and lets oxygen reach the roots of your grass. Aerating your lawn will stimulate the roots of your lawn which will then make your grass grow stronger, and your lawn will look lusher and greener.
Aerating before applying fertiliser to your lawn really helps all the nutrients from the lawn feed get to the roots of your grass, so we highly recommend you coincide aerating your lawn with feeding it for optimum results.
If your lawn is prone to thatch and/or moss, then aerating your lawn will also help the build up of thatch and moss which is good news if you have to regularly scarify
your lawn.
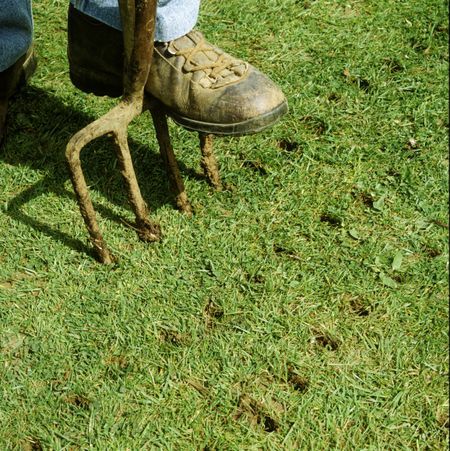
You'll see various types of aerators you can use in the images above. You don't need to 'fork out' (sorry couldn't help it!) hard-earned cash on expensive electrical or petrol aerators; a simply garden fork will do the job just as well. However this is of course (like scarifying) a rather labour-intensive job, so you may wish to purchase something which will make the job a lot easier and quicker.
Aerator shoes can be worn when you're cutting the grass so of course your aerating the lawn as you walk behind your lawn mower. This seems too easy doesn't it?! Well, it isn't. If you read the many online reviews about aerator shoes you'll probably conclude there are perhaps better tools and methods you can use.
3. Level Out
If your lawn has uneven patches where it dips, you should remove the grass from the top by using a sharp bladed shovel. Insert your spade about 2 or 3 inches so you slice underneath the roots and put the removed top layer of grass to one side.
Add topsoil to the dip to bring it in line with the rest of the lawn surface. However, if you want to ensure you make the very best job of your levelling out and ensure your patch of lawn repairs and flourishes, mix 2 parts topsoil with 2 parts sand and 1 part compost.
4. Feed & Weed
Now use a reputable weed and feed mixture and evenly distribute this over your entire lawn. It is best to treat your lawn during spring or, if necessary, to repeat treatment again in the autumn. You shouldn't feed and weed your lawn more than twice a year and it's best to do so when your soil is moist or rain is predicted within a day or two.
5. Seed & Repair
In mid-spring or early autumn when the ground is fairly moist, sow grass seed to repair bald patches of grass. First, rake over the bare patch to loosen the soil ready for sowing your grass seed. Then evenly sprinkle your grass seed on the raked area - about 15 seeds per square inch. Lightly drag your rake over the soil and seeds to mix. Then gently pat down and tread on the seeded soil. After sowing your seeds, you need to ensure the area doesn't get too dry; if it doesn't rain, lightly water the area using a rose head on a watering can. You should do this for the first two weeks of growth, twice a day. After two weeks has passed, depending on the weather/dryness/moistness of the ground, you should continue to water the new growth once a day or every other day. After about 12 weeks, just keep an eye on your patch and make sure it doesn't dry out too much. You should only need to water around once a month after 12 weeks until your new growth is around 6 months old. Note:
Keep you lawn mower on a high setting when first cutting new growth.
6. Water & Sunshine
If we continue to experience long periods of drought during the summer months, to keep your lawn in tip-top condition you should water it most days and not mow your lawn as regularly. You should start watering your lawn before the ground become too hard and dry as the water will simply run off its surface. So if it doesn't rain for a few days, you should water your lawn early in the morning or evening when the sun isn't beaming down on it. To be kind to the environment and keep water bills down, it's best to have one or more rain butts to collect rain water from your gutters.
7. Mow Regularly
Mowing your grass regularly around twice a week will keep your lawn gloriously healthy but only if the ground isn't too dry; if there is a drought then you should avoid cutting the grass too regularly unless you ensure you keep it moist (as outlined in step 6 above). The key to getting your lawn lush is not to mow your grass too short at first (early in spring or early in autumn) and certainly to no less than 3 inches. Mowing season is typically from early spring to early autumn (between March and October). Note:
Whilst it's sensible to keep your lawn moist, you should avoid mowing grass when it's wet.
8. Tidy Lawn Edges
Whilst tidying the edges of your lawn will have no effect on the quality or health of your grass, it does tend to make a lawn more asthetically pleasing. The best time to edge your lawn is during the spring and one of the best tools for the job is a half-moon edge cutting tool. However, you can also use a spade if you don't want to splash out on an additional tool for the job. Prior to edging your lawn, if you want a straight-as-a-die edging it would make sense to either use builder's/fencer's string as a guide or a plank of wood.
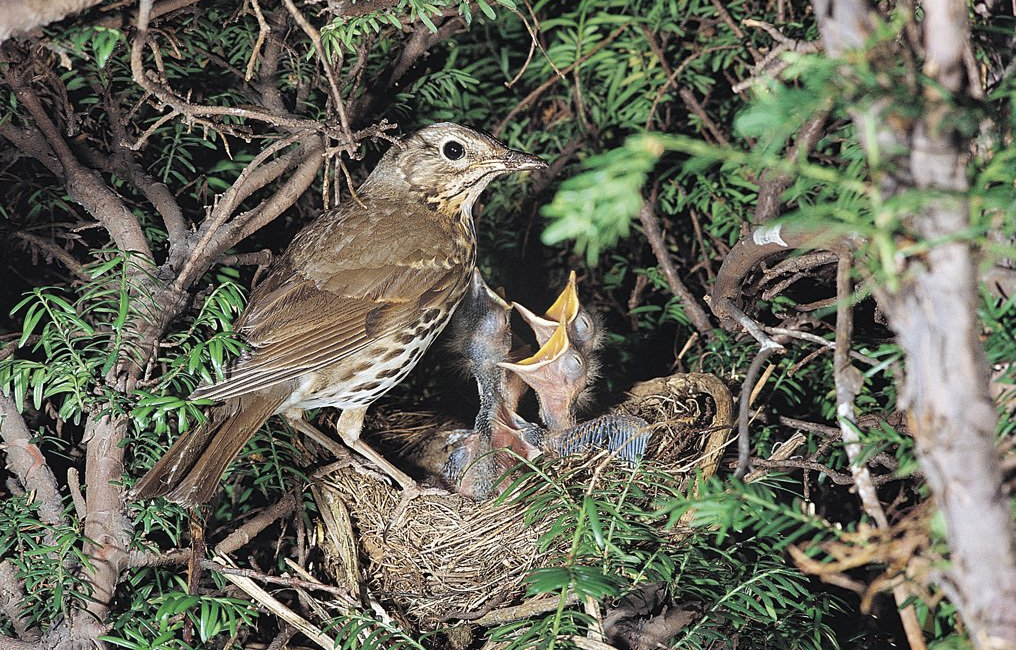
Hedge cutting in nesting season
The UK Law on Hedge Cutting during Nesting Season
Unlike some gardeners and hedge cutters, The Handy Garden Man is mindful and respectful of birds nesting in hedges between March and September.
If you're a customer living in March, Cambridgeshire and would like your hedges cut during the nesting season, The Handy Garden Man will happily oblige, but only if thorough checks are made beforehand that no birds are nesting in a hedge before hedge cutting work is commenced.
Not everyone is aware that it is actually against the law and considered an 'offence' under Section 1 of the Wildlife and Countryside Act
of
1981 to "Intentionally take, damage or destroy the nest of any wild bird while it is in use or being built". If anyone commits this offence, they can be penalised by way of "an unlimited fine, up to six months imprisonment or both".
If your hedge(s) are quite high (more than 2 metres tall), then a thorough check should be made by you for any current nesting activity before instructing The Handy Garden Man to cut your hedge(s). Where hedges are more than 2 metres tall, it is usually preferable for these hedges to be cut outside of the nesting season, usually between September and February (inclusive). However, even during September some birds can still be nesting, so it's always best to check. Likewise, some birds can start early (before 1st March) so again, checks should always be made.
If your hedges are quite short (less than 1.5 metres) then it's highly unlikely any birds will be nesting and usually shorter hedges can be trimmed and maintained throughout the spring and summer.
The Handy Garden Man tends to rely on a customer to confirm if birds are nesting in hedges as of course a customer can easily view the hedges and notice any birds regularly flying in and out of a hedge. So if a customer can take the time to observe a hedge before instructing The Handy Garden Man to cut it, it would be extremely helpful, save time and costs.
If you notice any other gardeners in March, Cambs, cutting a hedge which you are certain contains an active nest, then you should politely let them know there is an active nest in the hedge and that there are laws protecting active nests. If a gardener proceeds to cut the hedge, despite your polite warning and you are certain there is an active nest at risk, you can contact the police.
If someone were to warn The Handy Garden Man of an active nest then you can rest assured that no hedge cutting will take place until The Handy Garden Man is certain the birds have fledged and the nest is no longer in use.
How to Avoid Neighbour Disputes over Hedge Cutting
Before instructing a gardener to cut your hedges, it is always preferable and polite for you to speak to your neighbour about this before work is commenced, ESPECIALLY if the hedge belongs to your neighbour. However, most boundary hedges are the joint responsibility of you and your neighbour so you should get your neighbour's agreement before tampering with a boundary hedge.
If you're unsure which boundaries are your responsibility, then it is always best to check the title documents to your property which usually confirm which boundaries are your responsibility. More often than not, when you are facing the front of a property, it is the rear and left-hand boundaries that are your responsibility but this is not always the case, so it's best to check! If you cannot find a copy of the title documents your Solicitor should've sent to you on completion of your property purchase, then you can request copies of your title documents and title plan online via the Land Registry's website.
You should also politely check with your neighbour whether they have noticed any birds nesting in the hedge, as it could be the case the nest is closer to your neighbour's side of the hedge and you wouldn't therefore notice birds flying in and out of the hedge. This also avoids upsetting your neighbour who may be an ardent nature/bird lover who will gladly report you (or The Handy Garden Man Fencing Company!) to the police for disturbing an active nest.
If your neighbour doesn't want their side (or top) of a hedge trimming, then please let The Handy Garden Man know and we will only trim one half (your side) off the top of the hedge, to avoid any disputes with your neighbour.
You do have the right to trim, cut back or prune any foliage that is encroaching your property but you cannot cut down a plant or tree which is rooted on your neighbour's property or spray it with weedkiller.
More advice concerning disagreements with your neighbour over hedge cutting etc is given on the Citizens' Advice website.